Environment
Build the environment
After the blueprint is installed, most of what you will do with your environment will work through the make command.
You can build your environment like this:
$ make environment-build
You should see the following output:
Successfully built c70c2ec13421
Successfully tagged awesome-project-env:latest

Environment is built! A Docker image was created: awesome-project-env
Let’s add some sample data to our project:
$ make environment-data
You can now start your environment:
$ make environment-start
You should see the following output:
05f32052868110f38e8233a2ac70ebff076272c7997f5409a8d70a780fc33ec7
Environment is running!
Notebooks interface is available at http://localhost:8082
Use the Jupyter interface
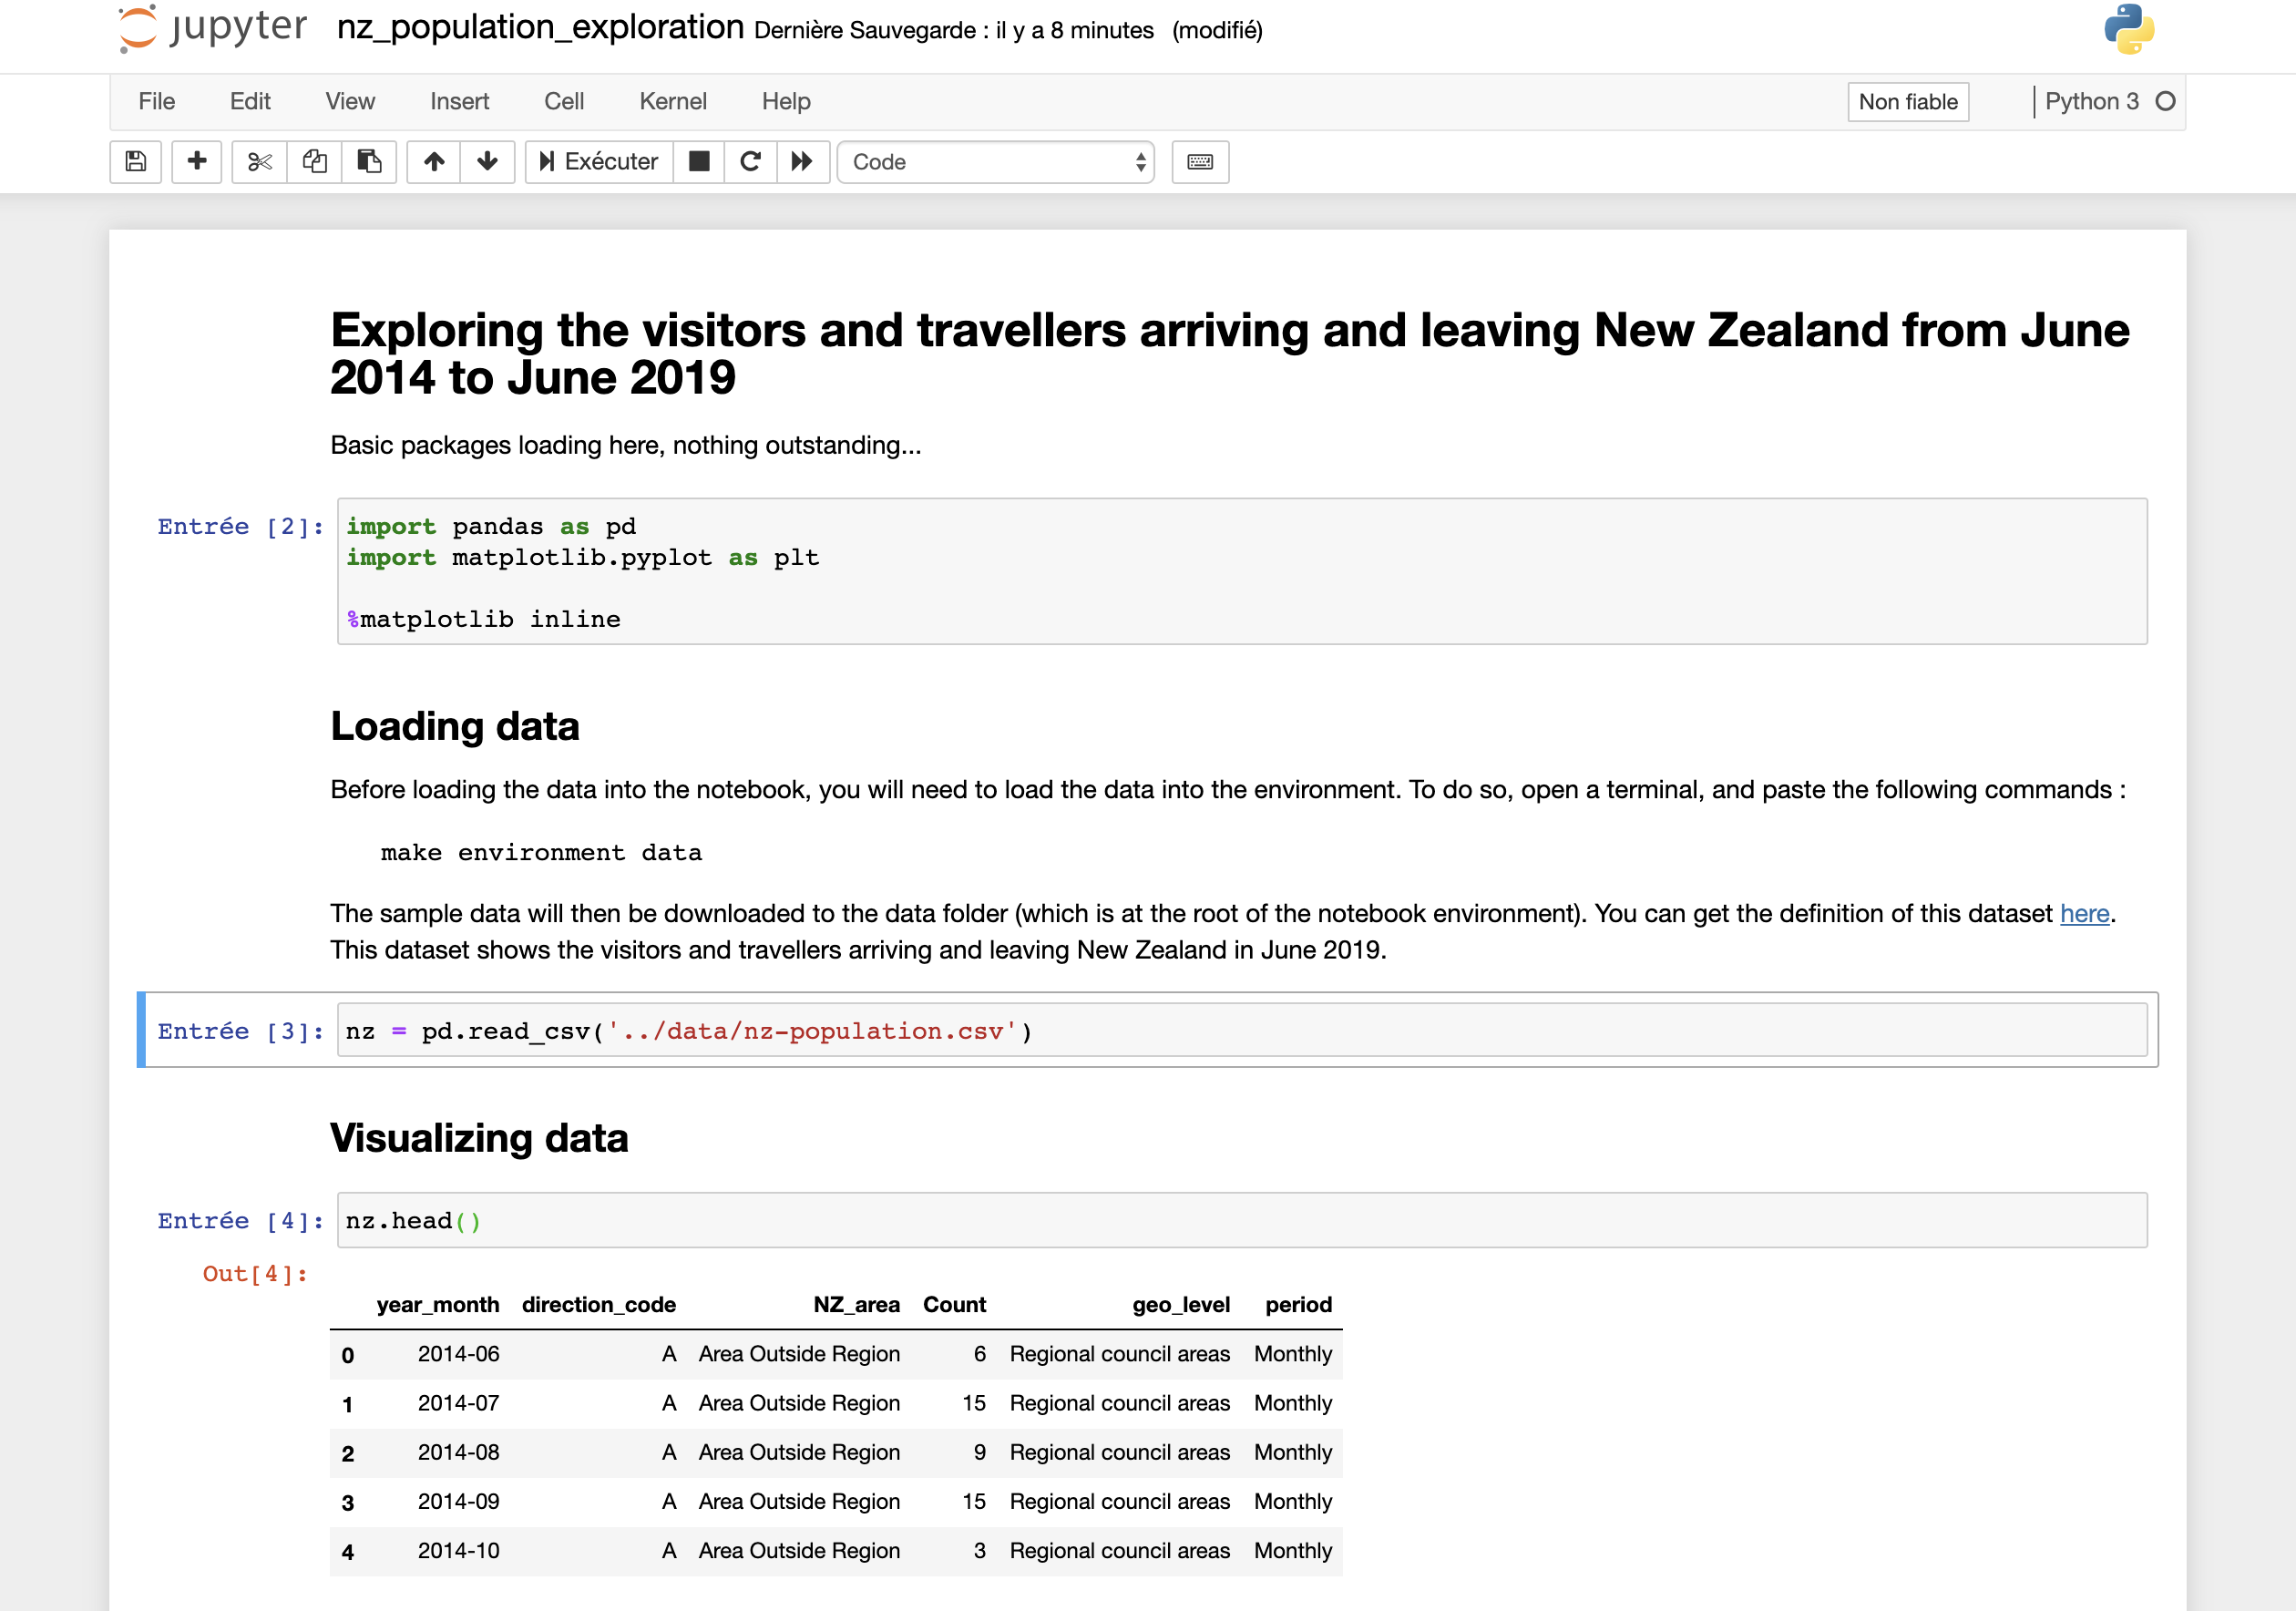
You can now reach out to your environment interface, and access the Jupyter notebook instance. A notebook has been created with the blueprint, to give you a sample exploration. It is located in the notebooks folder. After displaying it, you can run the cells.
Work with the shell
Back to your terminal, you can now launch a shell:
$ make environment-shell
You are now in the shell, and you will notice that the prompt has changed:
jovyan@awesome_project:~$
Move to the scripts folder, and launch a python script that tests your package:
jovyan@awesome_project:~$ cd scripts
jovyan@awesome_project:~/scripts$ python3 nz-mapping.py
This is the output you should expect:
               NZ_area  Count               geo_level
0  Area Outside Region      6  Regional council areas
1  Area Outside Region     15  Regional council areas
2  Area Outside Region      9  Regional council areas
3  Area Outside Region     15  Regional council areas
4  Area Outside Region      3  Regional council areas


               NZ_area  Count               geo_level
0  area outside region      6  REGIONAL COUNCIL AREAS
1  area outside region     15  REGIONAL COUNCIL AREAS
2  area outside region      9  REGIONAL COUNCIL AREAS
3  area outside region     15  REGIONAL COUNCIL AREAS
4  area outside region      3  REGIONAL COUNCIL AREAS